
The Hanky Project: Finally Tackling the Rolled Hem
- Loopla

- Sep 9, 2025
- 3 min read
I have been wanting to tackle sewing a rolled hem using a rolled hem foot with my sewing machine for a while. I would say my sewing skills are perhaps an advanced beginner, but that could be a stretch even! So I thought I'd try a super simple project - a rolled hem hanky! Four sides of rolled hem, which will give me lots of practice at doing rolled hems as I make a few of them. I've been procrastinating over this project for a while but I recently had the flu and wish I'd had some hankies instead of going through so many tissues. So that was the kick in the butt I needed to get this project started!
I did a bit of research on how to sew a rolled hem with a rolled hem foot and there seem to be two main methods. One method is to create a thread "tail" to hold and guide the fabric, while the other involves manually folding the fabric with your fingers before you sew.
After trying them both, I've found one that worked best for me was the the manual fold method! I'll walk you through how I did it.
What You’ll Need
Fabric: I used a lightweight cotton lawn fabric because I already had it and it's perfect for this project. Cotton is best as it's soft and absorbent.
Thread
Sewing machine
Scissors
Optional - rotary cutter and cutting mat
Steps
Cut a square from your fabric. I'd recommend making it at least 25cm x 25cm.

Take one side of your square. Fold it over once, then fold it over again. Use your fingers and a little pressure from your fingernail to crease the fold down and hold it in place.

Sew 2 or 3 standard stitches at the beginning of your fold, then reverse back over them to secure the fold in place. Now, bring the fold over the bar and under the curve of the foot as shown below.

Now, begin sewing slowly. As you go, you'll need to keep the fabric fold in line with the rolled hem foot. I found it helpful to use a tool like a pair of tweezers to hold the fabric in place and guide it as I sewed, so it didn't come out of the roll.

After a few dodgy attempts, you'll be on your way to a nice, neat rolled hem. Don't give up if it doesn't look perfect the first few times. Just keep practicing, and remember to try both methods to see which one works best for you.

Repeat this process on the other three sides.
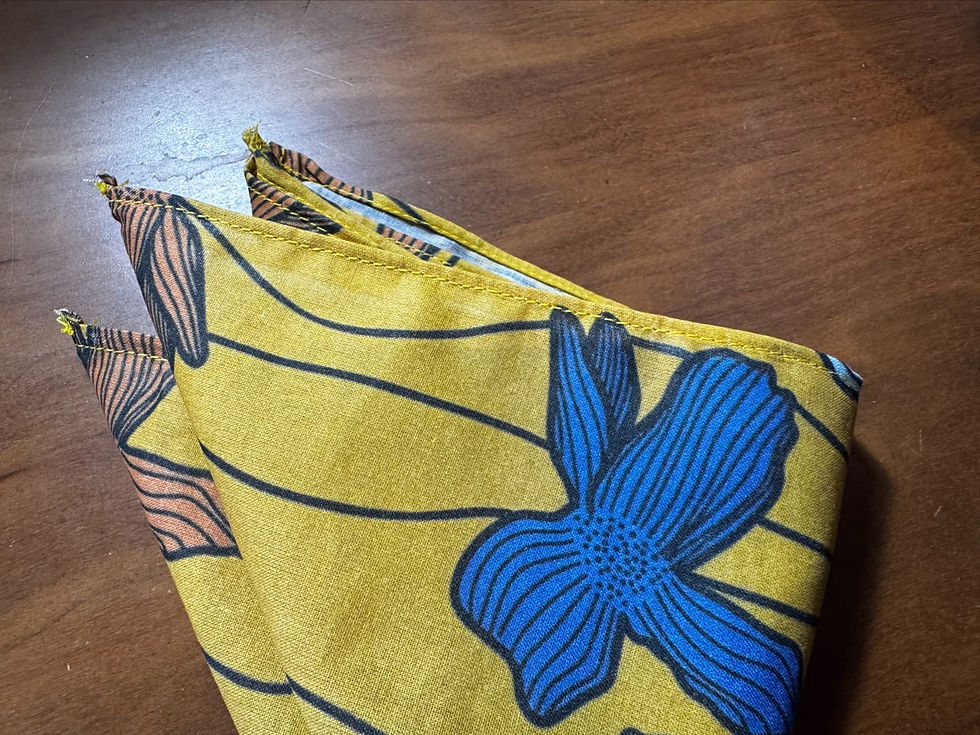
You now have a finished hanky!

It's a simple project, but a finished hanky is so satisfying. I'm so happy I finally got around to making these—I just wish I'd done it sooner!
Don't want to try a rolled hem just yet? You can, of course, just sew the hems the normal way too. The result is still a beautiful, useful hanky!
Oh, and a quick tip: if you're a fan of this fabric, you can find it and all my other designs available for purchase on a variety of fabric bases through my Spoonflower shop.
Speaking of this fabric, I loved it so much that I actually sewed a top with it a few years back!

It's so lovely and light to wear in summer. It just goes to show how versatile this fabric can be!
Happy sewing!


That looks delightful!